
Building a solid and long-lasting tabletop, especially for kitchens, laundry rooms, or utility areas, isn’t just about slapping some tiles on a frame. It’s a combo of structure, materials, usability, and environment. Here’s a no-nonsense breakdown of what to consider before you even pick up a tool:
🧱 1. Purpose & Use Case
- Kitchen use → Will face water, heat, knives, and daily abuse.
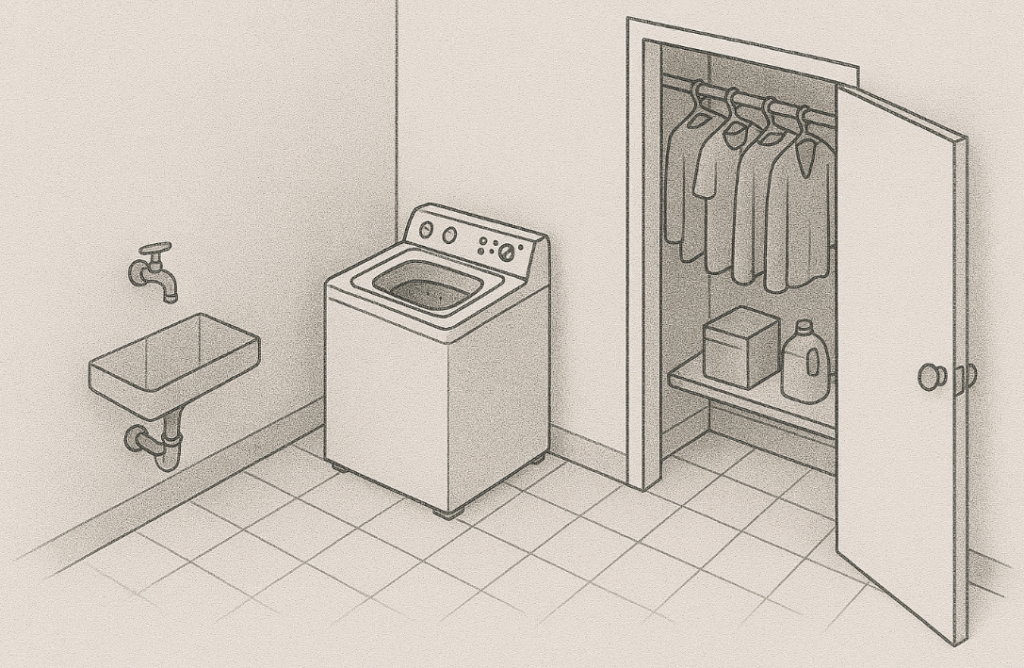
- Laundry use → Likely wet environment, need for chemical resistance.
- Storage/workspace use → Weight-bearing? Impact resistance?
👉 Your purpose dictates your build strength and finish.
🪵 2. Material Selection
🔸 Structure Frame:
- Bricks or cement blocks → Permanent and sturdy (great for outdoor/kitchen).
- Wood (2×2″, 2×4″, plywood) → Easier to modify, but prone to rot unless treated.
- Steel frame → Long life, modern look, but expensive and prone to rust if untreated.
🔸 Surface (Top):
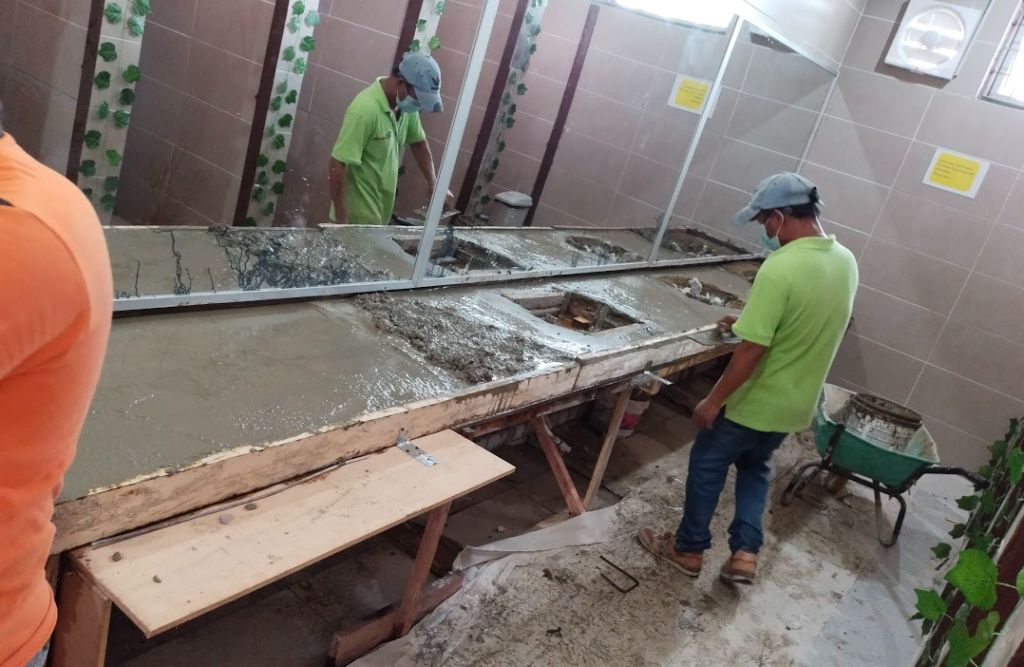
- Cement screed → Cheap, durable, heavy.
- Tiles → Affordable, waterproof, replaceable (grout needs care).
- Granite / Quartz / Marble → Luxurious, heat-resistant, but pricey.
- Stainless steel → For industrial vibes, ultra durable, great for hygiene.
⚠️ Bad material = short life, warping, or cracking later.
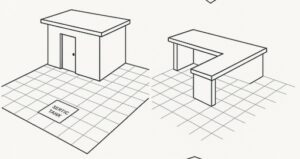
📐 3. Dimensions & Ergonomics
- Standard Height: ~3 ft for kitchen (or 4 ft max for standing work).
- Depth: Usually 2 ft is enough for prep/sink space.
- Thickness: 1.5–2 inches thick top if tiling or using slab.
🧍 Too high = uncomfortable. Too low = back pain. Balance it based on daily use.
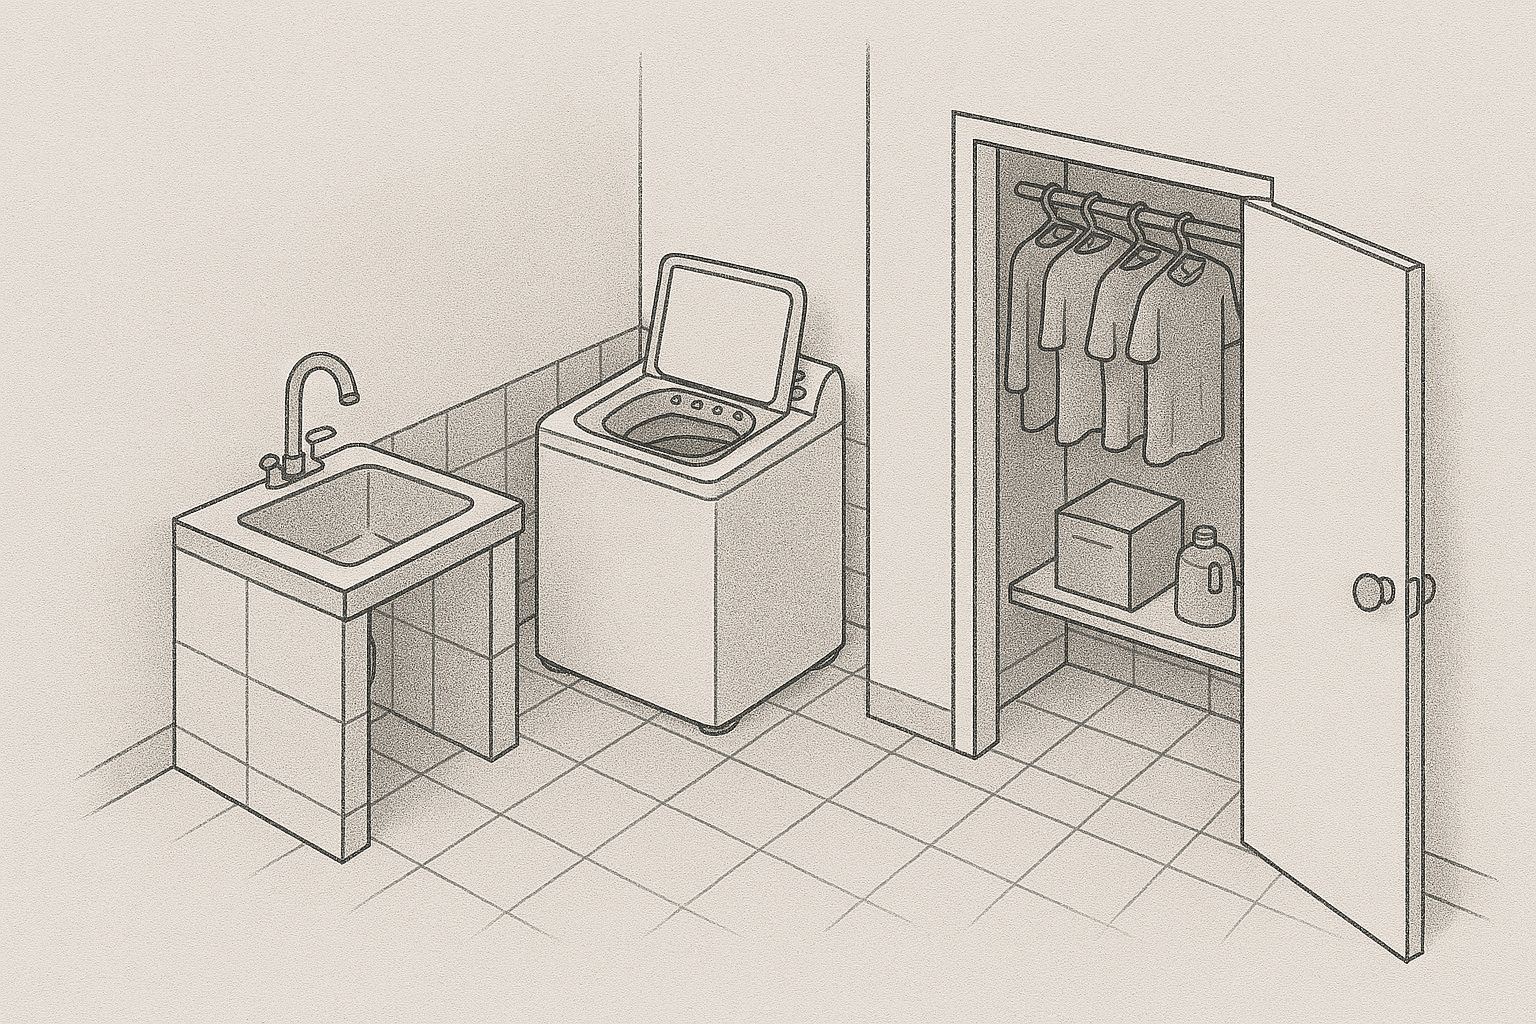
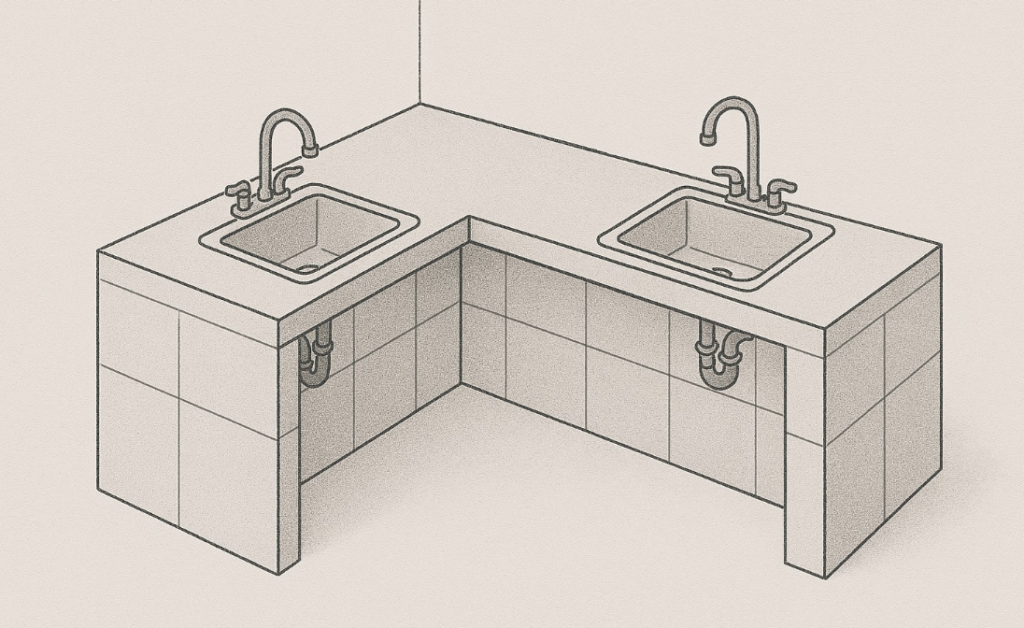
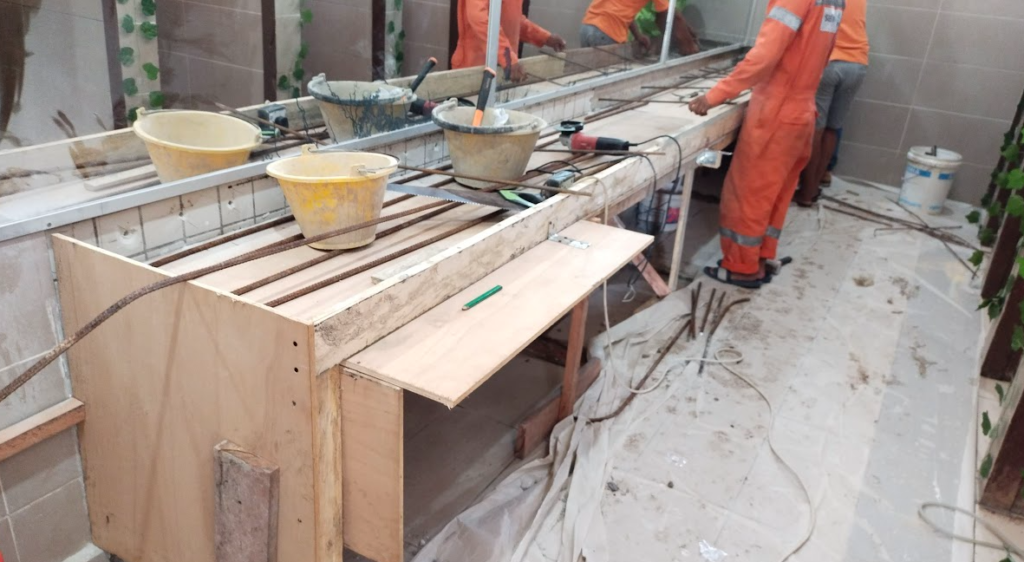
🚰 4. Plumbing & Utility Access
If you’re putting a sink:
- Reserve space for trap, inlet/outlet pipes, and cleaning access.
- Slope the countertop slightly towards the sink to avoid water pooling.
🛠️ Fixing plumbing after tiling is expensive and painful.
💦 5. Waterproofing & Drainage
- Use waterproof membrane or tile adhesive with waterproofing mix under tiles.
- Seal all grout lines and corners.
- Avoid MDF or untreated wood where there’s exposure to water.
💧 Water finds the tiniest path to ruin things over time.
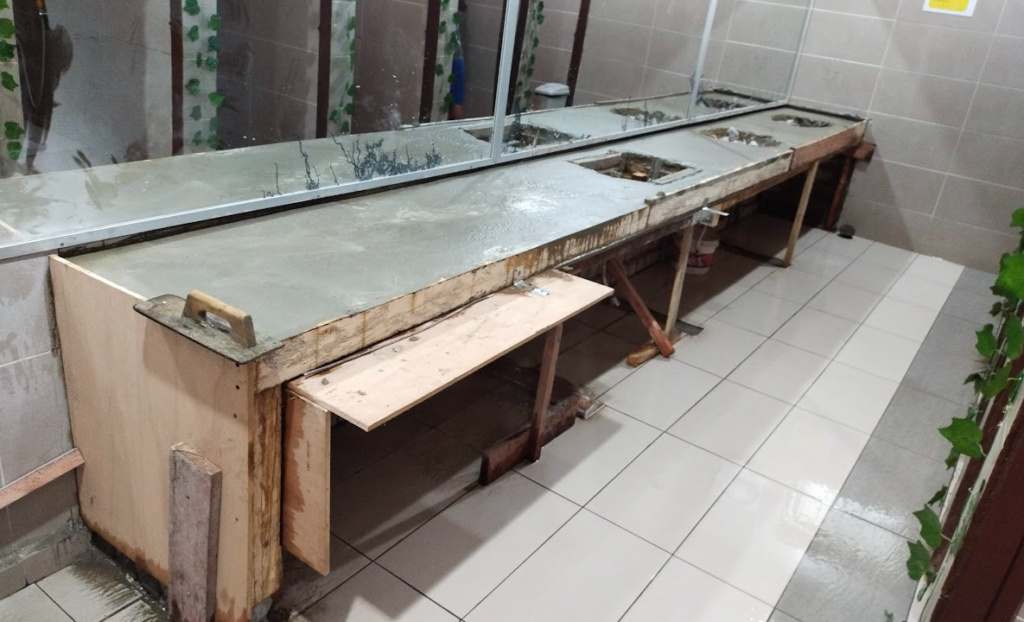
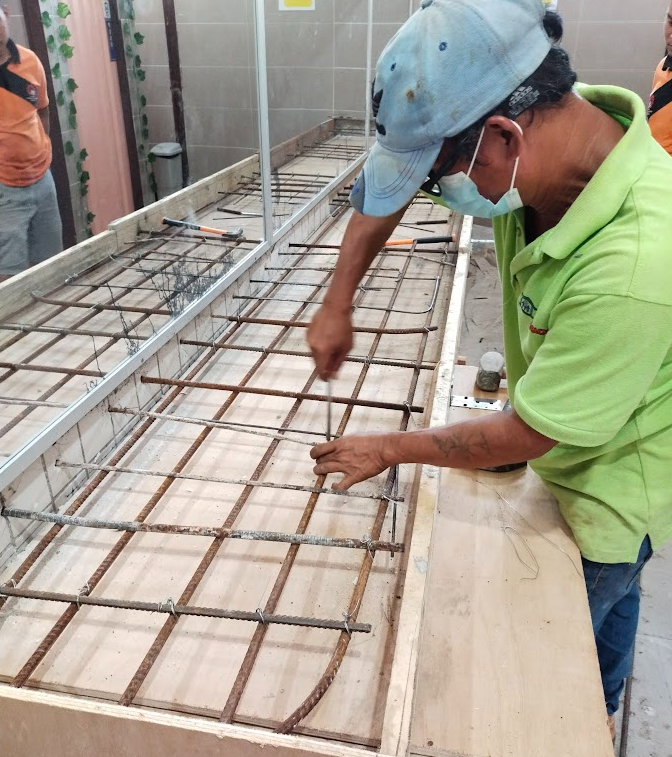
🔧 6. Support & Reinforcement
- Over 6 feet long? You need center support legs or beams underneath.
- Use angle iron or steel rebars embedded in concrete tops for reinforcement.
- Heavy-duty brackets if wall-mounted.
🧱 Don’t let it sag or wobble. Wobble is weakness.
🧼 7. Finish & Maintenance
- Tile grout should be mold-resistant and sealed.
- Edge trims are crucial to prevent injuries or tile chips.
- Splashback tiling on wall (4-6 inches high) helps keep things clean.
🪚 8. Tools & Skill Level
- Do you have access to tile cutters, angle grinders, cement mixer?
- Doing it DIY or hiring someone?
- Factor in cost of mistakes, especially for built-in work.
🧮 9. Budget & Longevity
Cheap shortcuts often mean redoing it in 1–2 years. Always over-budget slightly for unexpected:
- Extra tiles
- Edge trims
- Adhesives & waterproofing
TL;DR:
Strong base, proper drainage, correct height, waterproof everything, and match materials to your purpose. Build it once, build it right.